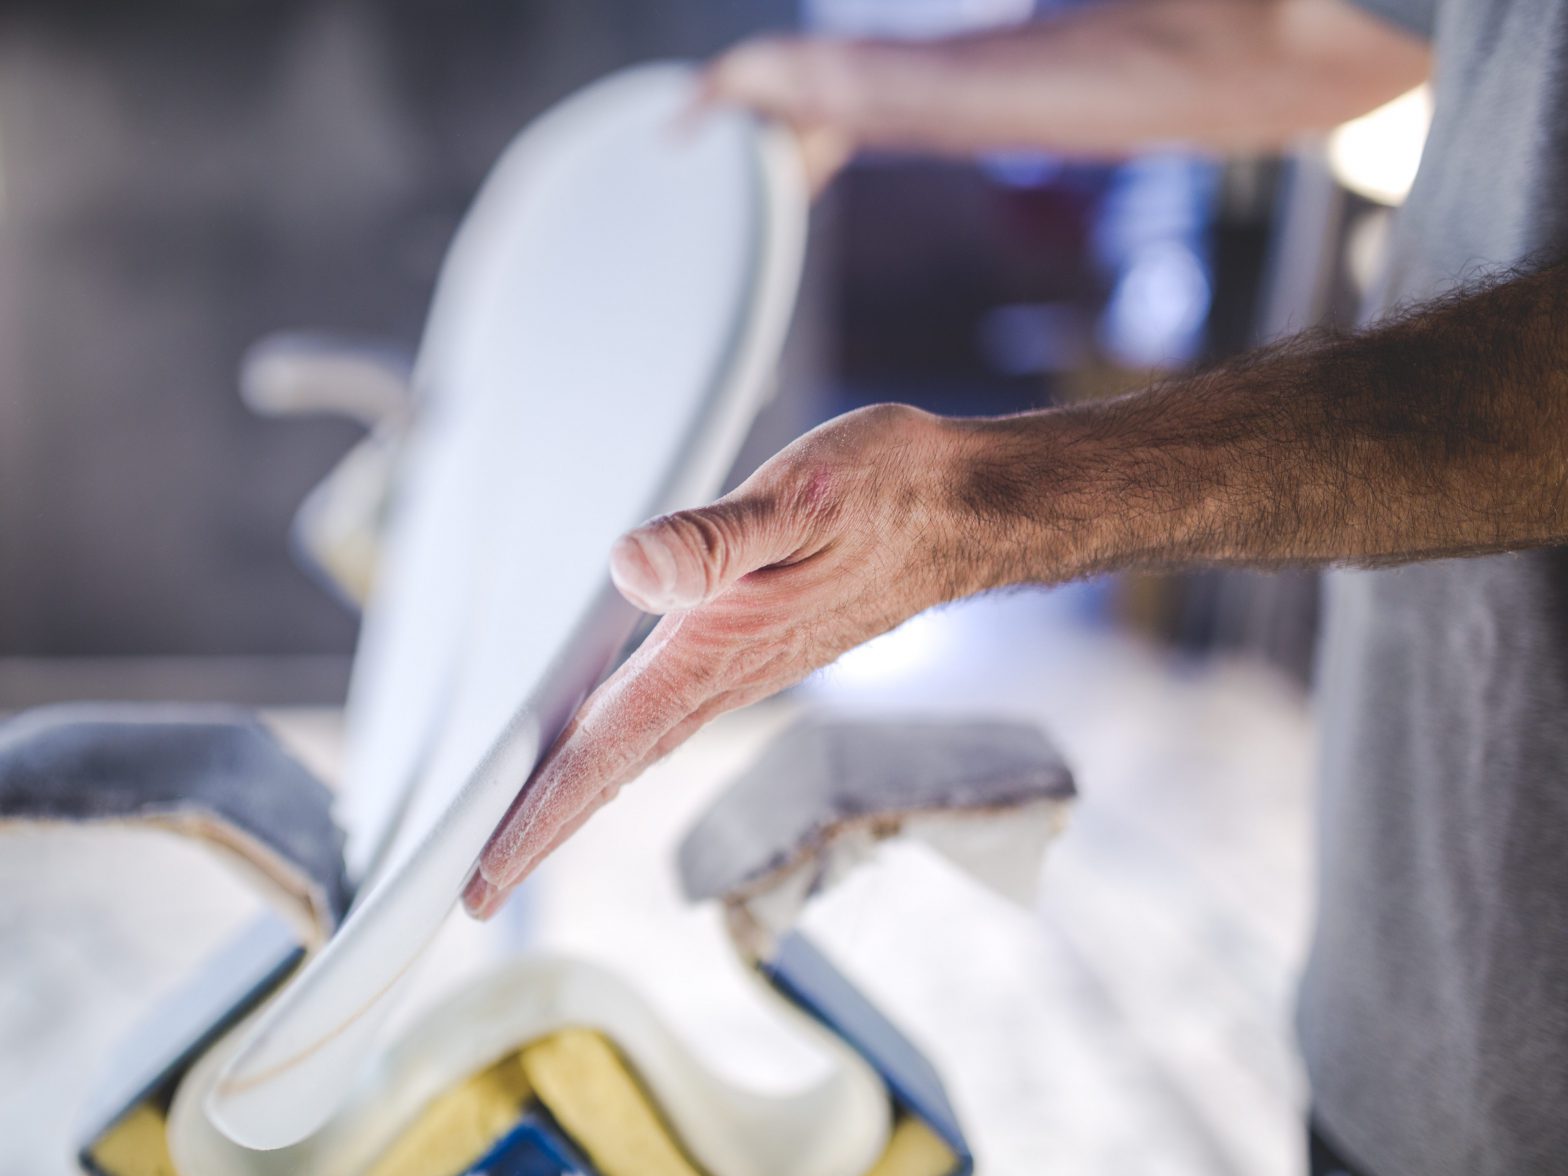
You’re now ready to start shaping your new surfboard. Turn on the lights in the shaping/glassing room and let’s go!
First, make sure that you have written down the final measurements that you want. It’s best to draw a diagram and pin it on the wall near your workspace. Place the blank on the wooden workhorse with the bottom side up. Get your template and place it on the blank and line it up on the center of the stringer. Check again to be sure that it’s laying smooth and perfectly along the line of the stringer. Using a heavy lead pencil, trace the shape from the nose to the tail. Flip the template to the other half of the blank and do the same. This will be the shape of your surfboard.
Now put your safety mask on and grab the jigsaw. Very slowly, cut the excess starting from the tail and moving toward the nose. Do not cut exactly on the line. Try to leave about 2 or 3 millimeters extra. Move very slowly, especially when you get to the stringer on the nose. You might want to have a friend help by holding the blank steady while you cut.
Next, set the blank in the holding part of the workhorse. Adjust the planer’s depth to just about 1 millimeter. Run the planer along the rails of the blank, carefully watching not to pass the pencil line. Stop when you have a near perfect continuation of the rails lines from the tail thru the nose. Repeat this step for both rails.
Now, place the board bottom side up on the workhorse. Set the planer depth to 2 millimeters and slowly, plane the bottom of the board by making passes from tail to nose like the diagram below:
Continue planning the bottom until you are about 1cm thicker than the planned thickness.
Turn over the blank. This part gets tricky. Plane the top just as you did for the bottom. Because of the rocker, you can’t use the electric planer as you get near the nose. You will have to use the hand and finger planer (like a potato peeler) to get this area. Only plane enough to get past the hard layer and to get to the softer white foam (about 2mm).
This next part requires an artist’s eye. Using the planer, start to shape the curve of the rails slowly and carefully. Roughly get them to form you want and put the planer away. Use the steel mesh held in two hands, follow the rails from tail to nose trying to get the perfect shape. The front 3/4 of the bottom rail area should be more rounded, while the back fourth should be a bit sharper edged. If you are shaping your board in a shaping room with the perfectly positioned fluorescent lights, you will be able to see flaws in your shaping job easier than if you are shaping outdoors.
