Your board now looks like a finished surfboard without fins. The big difference is that it’s very fragile. It’s time to protect it with a glass job.
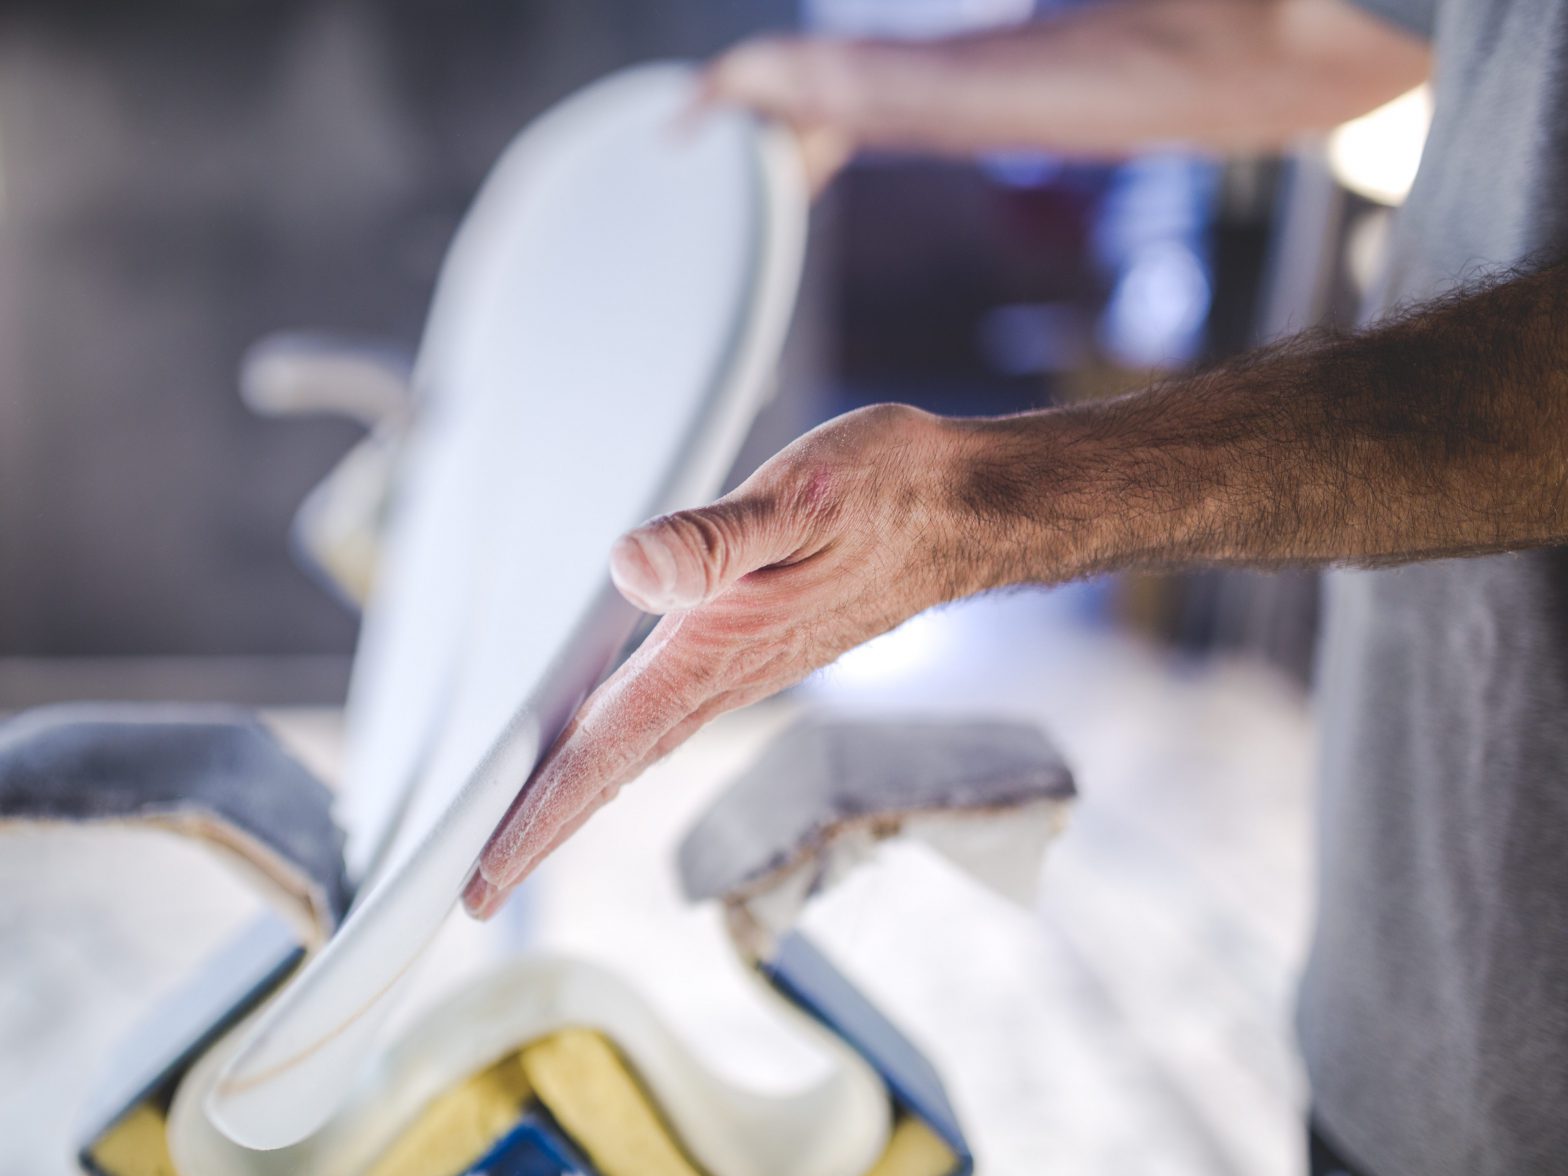
Place the board bottom side up on the workhorse. Be sure that all the dust from shaping has been cleaned up and your electric tools have been put away.
Roll out the fiberglass cloth(6 ounce) and use straight pins to hold it in place. Make sure that it evenly hangs over the edges. Using good scissors, trim the cloth leaving about 5cm hanging down like a curtain. At the tail corners and where your board’s shape turns, you will have to cut small, narrow V’s this is because you’ll have to fold the cloth around the rails and there might be some overlap. See diagram below:
Depending on the temperature you might want to experiment with resin and catalyst in a small cup with about 200ml first. Add 5 drops of catalyst and mix well. Check your watch and continue to move the cup until you notice that the resin has become like thick gel. Check your watch again. This is how much time you will have to work in the resin into the cloth and fold the cloth over the edges with the squeegee. This is probably about 5 or 6 minutes or less. It’s best to be sure before starting to use resin. Always wear latex gloves when working with resin.
Mix about 800ml of resin and have your squeegee ready. Pour the resin in the center of the board and start to use the squeegee to work the resin into the fiberglass cloth in a motion like below. Be careful not to lose any resin until you begin to push the resin over the rails to secure the fiberglass to the deck’s rails.
After you fold the cloth over the rails, be sure that all of the cloth on is evenly wet and attached firmly to the blank. Be sure there are no drips hanging down. If you see any, squeegee them away. Don’t worry about excess pieces of cloth that seem messy. Everything will get covered over later. Let the resin cure for at least one day.
After the resin has cured, turn the board over and dust off the deck. Roll out the fiberglass cloth(6 ounce) and repeat the glassing steps. Be sure not to leave any drips as you fold the cloth over the rails. Let this side cure for a day. For strength, it’s best to add one more layer of fiberglass cloth(at least 4ounce) on the deck. If you don’t, you’ll get a lot of pressure dings where you stand on your board.
Now that the resin has cured, it’s time to place the fins. (if you’ll install FCS fin system, skip this)
Cut out 6 pieces of fiberglass cloth (12cm x 5cm)
With a pencil, mark some dots where you want to place your fins(you should carefully look at another surfboard and measure the distance of each point from the stringer and tail). Place the back fin first and use masking tape (across the top of the fin) to hold it in place. Then do the same for the left and right fins. Be sure that the angle is perfect before taping them to the board.
Prepare about 500ml of resin and add the catalyst (Be sure you’re wearing latex gloves). Dip the entire length of fiberglass rope into the resin except for the part you are holding in your left hand. Make sure it’s completely wet and the pull it out. With your right hand, squeeze out about half of the resin from the rope. Quickly place the rope on the board along the left fin and pull back until the rope’s end is about one centimeter longer than the fin. With your right hand, cut the rope with scissors. Repeat along each side of each fin. Then quickly place the 6 pieces of cloth one on each side of the base of the fins. With your fingers, smooth out the resin into the cloth so the cloth helps to keep the rope in the corners at the base of the fins. Use the squeegee to clean any excess resin drops here and there. Let the resin cure for a day.
Next comes the hot coat resin. The first layers of fiberglass and resin are not really that hard so the hot coat provides the hardness that will protect your surfboard.
Place your board fin side up. Prepare about 1000ml of hot coat resin with catalyst (depending on the temperature, you might want to experiment with 100ml of resin to find out how much time you’ll have to work with). Pour some resin on the board and spread the resin with a paint brush until the whole area, including fins has been coated. The resin will naturally drip off the rails so as see drips, wipe them off with the brush. Continue to wipe them until they stop forming. Be careful not to touch the hot coat resin with your skin. As the name implies, it gets very HOT!
Let the resin cure for about 3 hours. Then turn the board over and repeat the hot coat procedure. Then let this side cure for about 3 hours.